Happy Saturday! Last night I was in a particularly crafty mood. This project wasn’t always destined to be a blog post, but it just sorta happened. So today instead of links (which I do all the time and I am sure you’re bored of) here’s a super easy DIY project!
If you have done any art project before I am sure you have most of these materials. Maybe not felt, but that’s a quick trip to Target. (Ok, I’m lying. No trips to Target have ever been “quick.” You’ll probably end up buying 30+ items. Don’t say I didn’t warn you.)
Target has got this AMAZING felt set in the craft section I got for Christmas. I also bought another one on my own because I am so obsessed/have been using felt a lot lately.
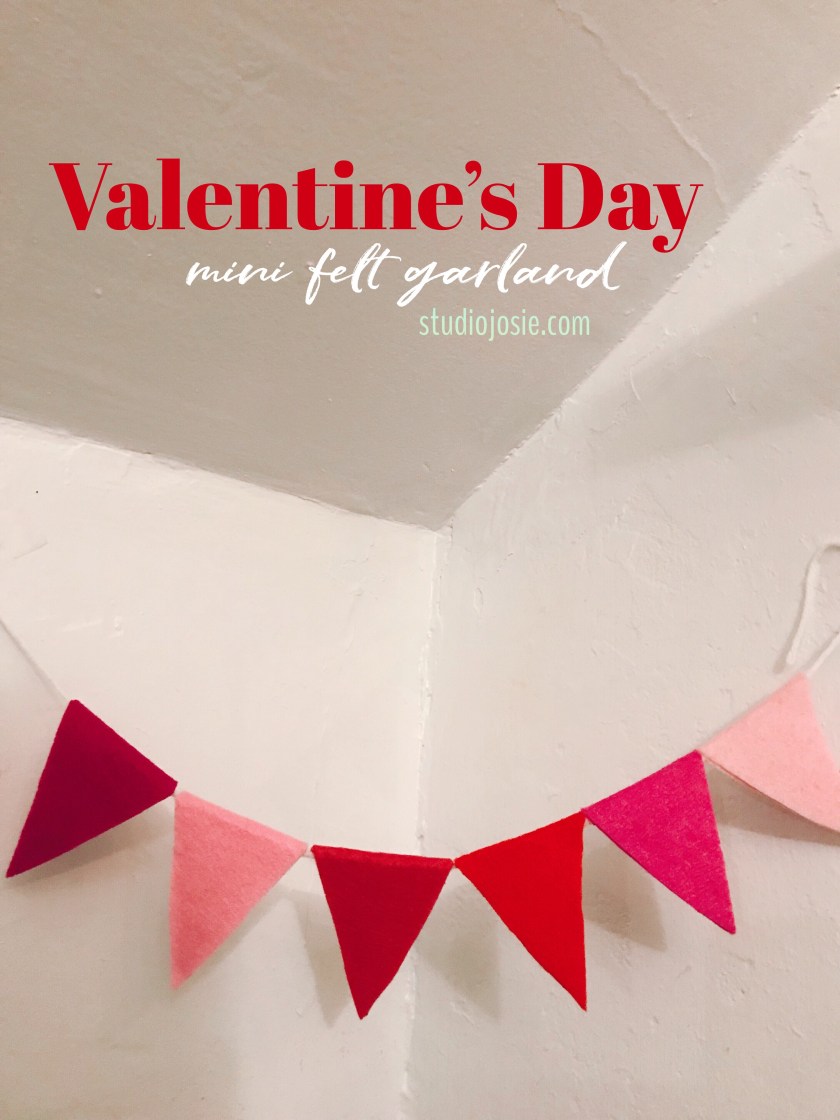
Anyways, whether you’re looking for a decorative item for your Valentine’s Day party or are simply wanting to spruce up your room, this no-sew felt garland is super cute and simple.
Here are the materials you’ll need:
– Felt. You could do this in whatever color combo you’d like, but since Valentine’s Day is around the corner I thought I’d be festive and do a pink/red assortment.
– Scissors and/or a rotary cutter. I got a rotary cutter for Christmas and I can’t help but use it every time I need to cut something.
– Yarn. Or twine. Or string. Anything that you could hang/resembles something string-like.
– Hot glue gun. These things are my best friend/worst enemy. I’ve accidentally burned myself so many times, but they’re soooo helpful.
THAT’S IT!

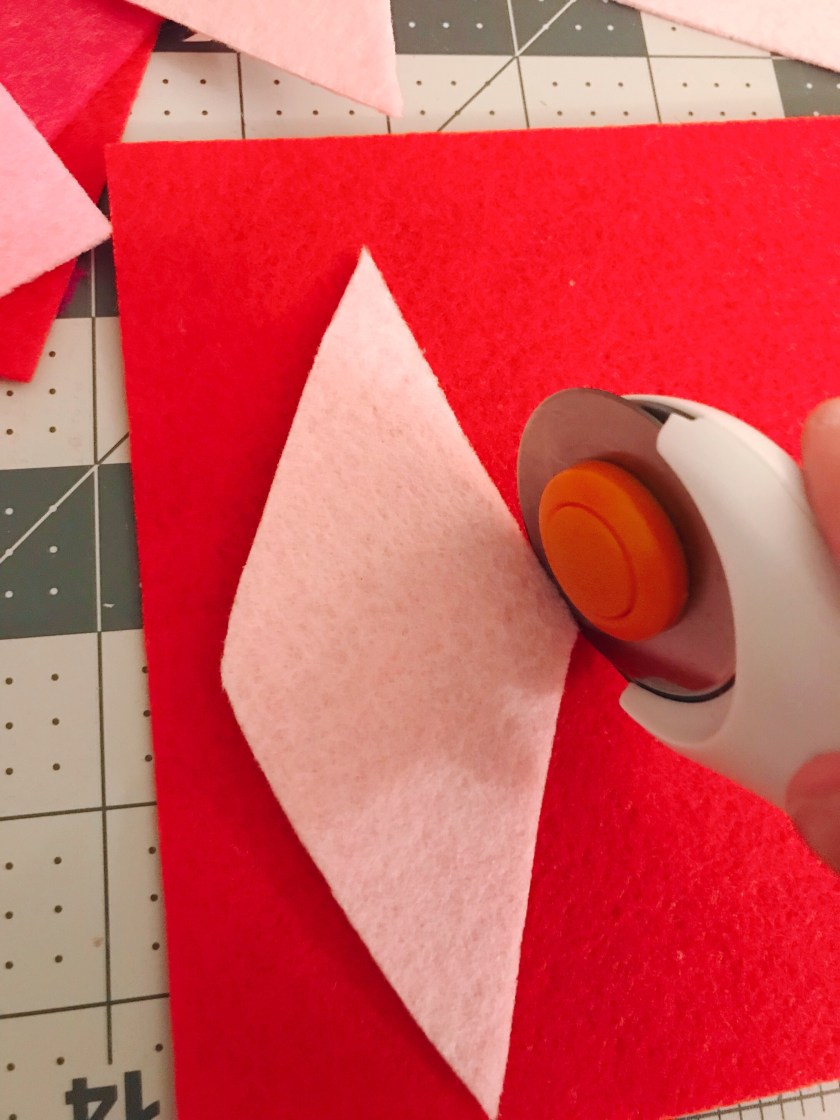
Step One. Cut a long diamond shape piece of felt. It can be any size you want, but it kind of depends on how much felt you have. I made mine mini cause I like mini things (nice alliteration, huh?) but if you want a bigger one, go for it. I just folded one square of felt in half and cut a triangle. Kind of like how you’d make a snowflake with paper. Ohhhh! That’s a good idea. Felt snowflakes!
Step Two. Use your first diamond to trace out other diamonds with. I love using the rotary cutter because it makes the lines super clean, but scissors work well too.
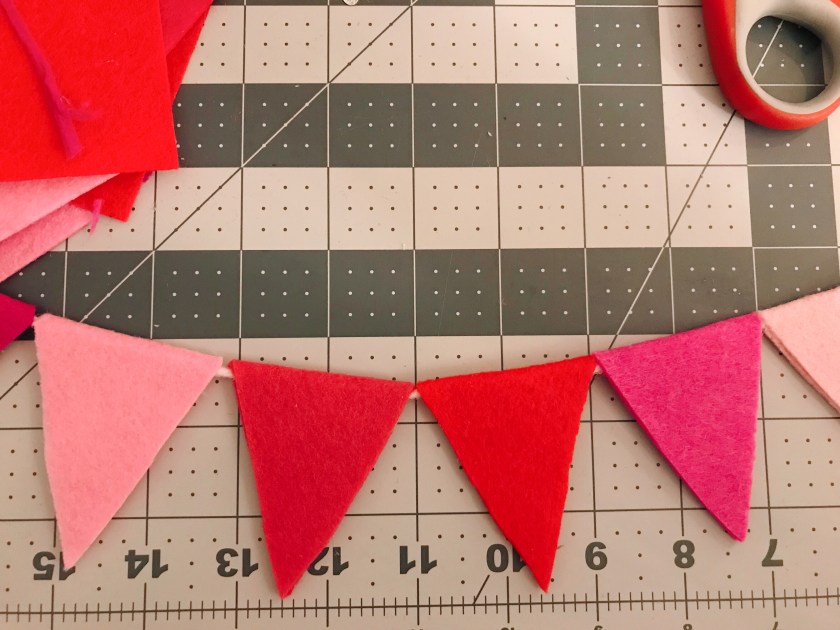
Step Three. Continue cutting as many diamonds as you want to fill up your garland. I only did six because I wanted to hang it above my desk.

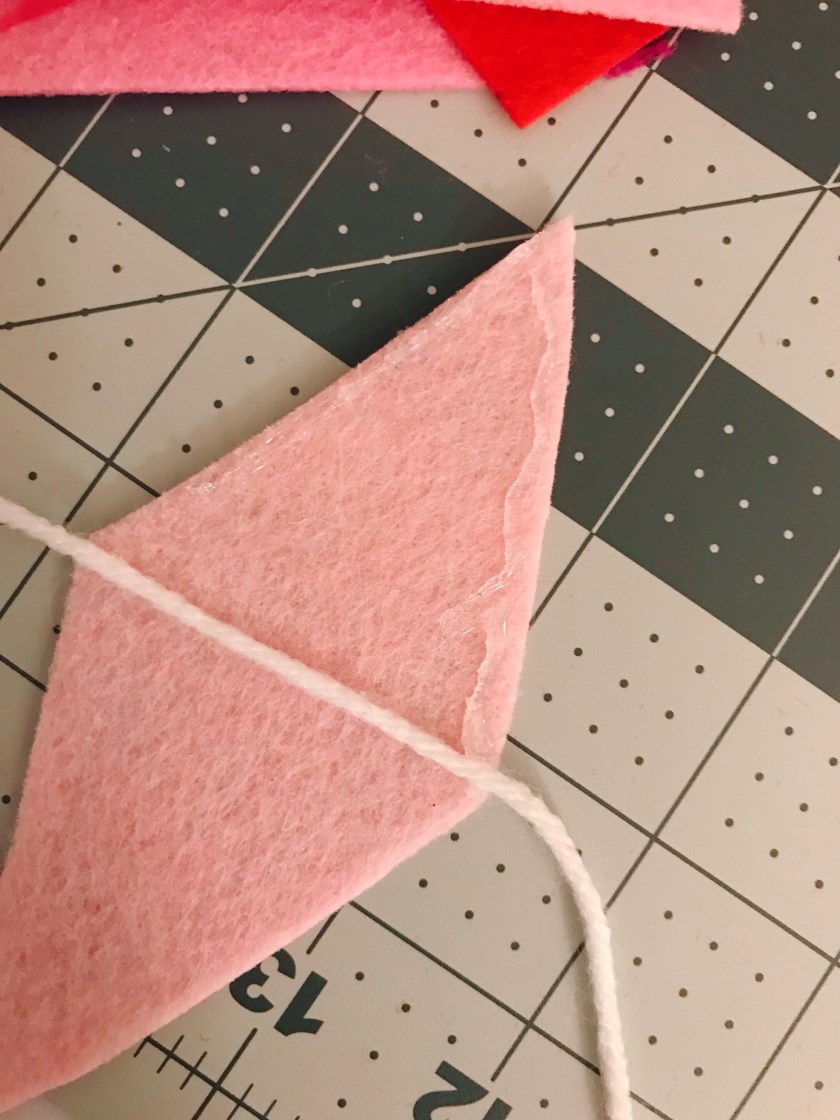
Step Four. Use your hot glue gun and glue a line down the middle of the diamond. Press the yarn down and make sure it is secure. Then, trace around the top of the diamond with more hot glue and fold it over to make the banner shape.
Step Five. Ta daaaa! Look how cute. Continue that last step as many times as you’d like to meet your desired length.

Step Six. Make sure the pieces are secure and glued together. Once you’re done, turn off your glue gun (!!!!!) and hang it up wherever your heart desires. (Get it? Heart? Cause it’s almost Valentine’s Day? 😉 I’m sorry.)
Congrats! You did it! As you can tell, this is super customizable. I understand that a lot of people like strict rules, but I don’t LOVE following rules when it comes to crafting because I feel like my best ideas come from accidents. I do get frustrated when I don’t have the necessary tools to make something, so I tried to make this as simple as possible.
My computer is making noises now, so I should go. Tag me on Instagram if you make this!
Have a great weekend.
